

RADIO RECEIVER ASSEMBLY
RADIO RECEIVER ASSEMBLY
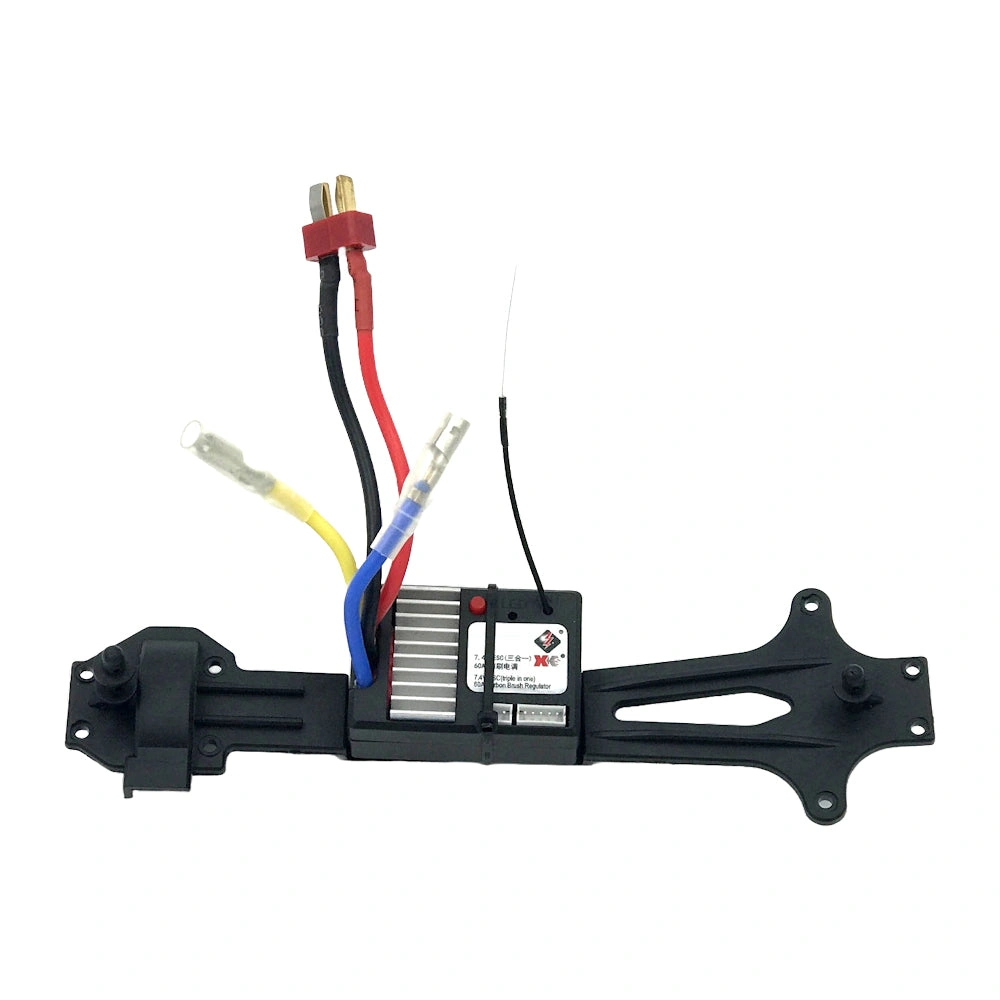
This guide walks you through assembling the replacement radio receiver for your 1:14 scale SPEED RC car. Whether you're a seasoned RC enthusiast or just getting started, this assembly is straightforward and ensures your car is back on the track!
What's Included
- Replacement Radio Receiver
- Replacement Screws (ensure you use the right ones!)
Assembly Steps
- Locate the Old Receiver: Carefully remove the old radio receiver from your RC car. Remember where everything goes! Take a picture for reference.
- Mount the New Receiver: Align the new radio receiver with the mounting points in your RC car chassis. Ensure it sits flush.
- Secure with Screws: Use the provided replacement screws to securely fasten the new receiver in place. Don't overtighten!
- Connection Check: Double-check all the connections (antenna, ESC, etc.) to the receiver. Make sure everything is plugged in correctly.
- Test Run: Power on your RC car and transmitter. Perform a test run to verify that the radio control system is functioning correctly. Enjoy!
Troubleshooting Tips
If you encounter any issues:
- Check Power: Make sure both the transmitter and the receiver have sufficient power.
- Binding Issues: Ensure that your transmitter is properly bound to the receiver. Consult your transmitter's manual.
- Connection Inspection: Double-check all connections and ensure they are securely plugged in.
- Antenna Placement: Ensure the antenna is positioned correctly and not obstructed.
Your new radio receiver is now installed! Your RC car should be ready to go. Have fun and happy racing! This product will be shipped to you via USPS.